4. ActiveMQ入门案例
大约 2 分钟
1. 引言
代码已提交至Github,有兴趣的同学可以下载来看看:https://github.com/ylw-github/SpringBoot-ActiveMQ-Demo
安装在前面的教程中已经讲解了,直接根据需求按以上两篇文章来安装。本文主要来讲解SpringBoot整合ActiveMQ。下面来讲解集成的步骤:
2. 提供者项目
**step1:**新建提供者项目(ActiveMQ-Producer)
**step2:**添加maven依赖
<parent>
  <groupId>org.springframework.boot</groupId>
  <artifactId>spring-boot-starter-parent</artifactId>
  <version>1.5.4.RELEASE</version>
  <relativePath/> <!-- lookup parent from repository -->
</parent>
<properties>
  <project.build.sourceEncoding>UTF-8</project.build.sourceEncoding>
  <project.reporting.outputEncoding>UTF-8</project.reporting.outputEncoding>
  <java.version>1.8</java.version>
</properties>
<dependencies>
  <dependency>
    <groupId>org.springframework.boot</groupId>
    <artifactId>spring-boot-starter</artifactId>
  </dependency>
  <!-- spring boot web支持:mvc,aop... -->
  <dependency>
    <groupId>org.springframework.boot</groupId>
    <artifactId>spring-boot-starter-web</artifactId>
  </dependency>
  <dependency>
    <groupId>org.springframework.boot</groupId>
    <artifactId>spring-boot-starter-test</artifactId>
    <scope>test</scope>
  </dependency>
  <dependency>
    <groupId>org.springframework.boot</groupId>
    <artifactId>spring-boot-starter-activemq</artifactId>
  </dependency>
</dependencies>
<build>
  <plugins>
    <plugin>
      <groupId>org.springframework.boot</groupId>
      <artifactId>spring-boot-maven-plugin</artifactId>
    </plugin>
  </plugins>
</build>
**step3:**配置application.yml
server:
  port: 8080
spring:
  activemq:
    broker-url: tcp://192.168.162.131:61616
    user: admin
    password: admin
queue: springboot-queue
**step4:**创建QueueConfig
import org.apache.activemq.command.ActiveMQQueue;
import org.springframework.beans.factory.annotation.Value;
import org.springframework.context.annotation.Bean;
import org.springframework.context.annotation.Configuration;

import javax.jms.Queue;

@Configuration
public class QueueConfig {
    @Value("${queue}")
    private String queue;

    @Bean
    public Queue logQueue() {
        return new ActiveMQQueue(queue);
    }
}
**step5:**创建Producer
import org.springframework.beans.factory.annotation.Autowired;
import org.springframework.jms.core.JmsMessagingTemplate;
import org.springframework.scheduling.annotation.EnableScheduling;
import org.springframework.scheduling.annotation.Scheduled;
import org.springframework.stereotype.Component;

import javax.jms.Queue;

@Component
@EnableScheduling
public class Producer {

    @Autowired
    private JmsMessagingTemplate jmsMessagingTemplate;

    @Autowired
    private Queue queue;

    @Scheduled(fixedDelay = 5000)
    public void send() {
        jmsMessagingTemplate.convertAndSend(queue, "测试消息队列" + System.currentTimeMillis());
    }
}
**step6:**启动类
@SpringBootApplication
@EnableScheduling
public class App {

    public static void main(String[] args) {
        SpringApplication.run(App.class, args);
    }
}
3. 消费者项目
**step1:**新建消费者项目(ActiveMQ-Consumer)
**step2:**添加maven依赖
<parent>
  <groupId>org.springframework.boot</groupId>
  <artifactId>spring-boot-starter-parent</artifactId>
  <version>2.0.1.RELEASE</version>
</parent>
<!-- 管理依赖 -->
<dependencyManagement>
  <dependencies>
    <dependency>
      <groupId>org.springframework.cloud</groupId>
      <artifactId>spring-cloud-dependencies</artifactId>
      <version>Finchley.M7</version>
      <type>pom</type>
      <scope>import</scope>
    </dependency>
  </dependencies>
</dependencyManagement>
<dependencies>
  <!-- SpringBoot整合Web组件 -->
  <dependency>
    <groupId>org.springframework.boot</groupId>
    <artifactId>spring-boot-starter-web</artifactId>
  </dependency>
  <!-- SpringBoot Activemq -->
  <dependency>
    <groupId>org.springframework.boot</groupId>
    <artifactId>spring-boot-starter-activemq</artifactId>
  </dependency>
</dependencies>
<!-- 注意: 这里必须要添加, 否者各种依赖有问题 -->
<repositories>
  <repository>
    <id>spring-milestones</id>
    <name>Spring Milestones</name>
    <url>https://repo.spring.io/libs-milestone</url>
    <snapshots>
      <enabled>false</enabled>
    </snapshots>
  </repository>
</repositories>
**step3:**配置application.yml
server:
  port: 8081
spring:
  activemq:
    broker-url: tcp://192.168.162.131:61616
    user: admin
    password: admin
queue: springboot-queue
**step4:**创建消费者Consumer
@Component
public class Consumer {

    @JmsListener(destination = "${queue}")
    public void receive(String msg) {
        System.out.println("监听器收到msg:" + msg);
    }
}
**step5:**启动类
@SpringBootApplication
public class App {
    public static void main(String[] args) {
        SpringApplication.run(App.class, args);
    }
}
4. 测试
**step1.**启动ActiveMQ服务:
/usr/local/apache-activemq-5.15.10/bin/activemq start
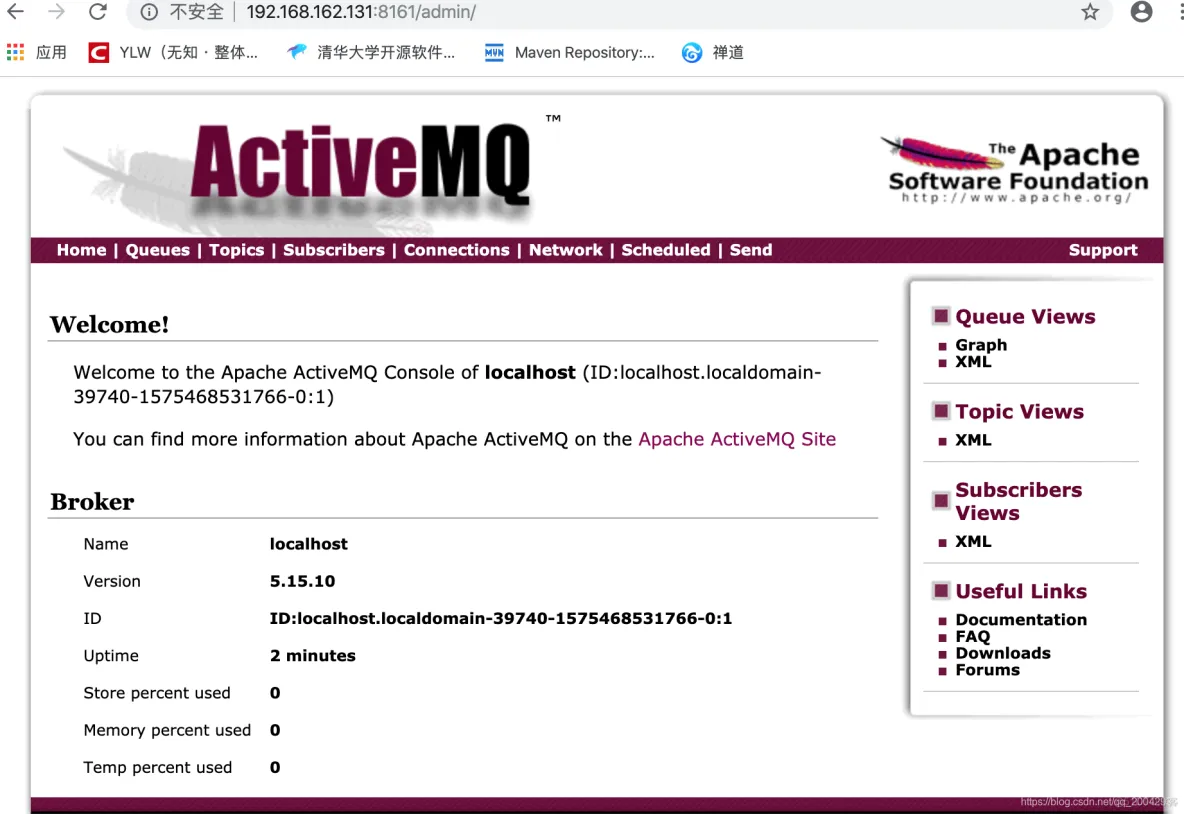
**step2.**浏览器访问:http://192.168.162.131:8161/admin(账号:admin、密码:admin),可以看到ActiveMQ服务开启成功。

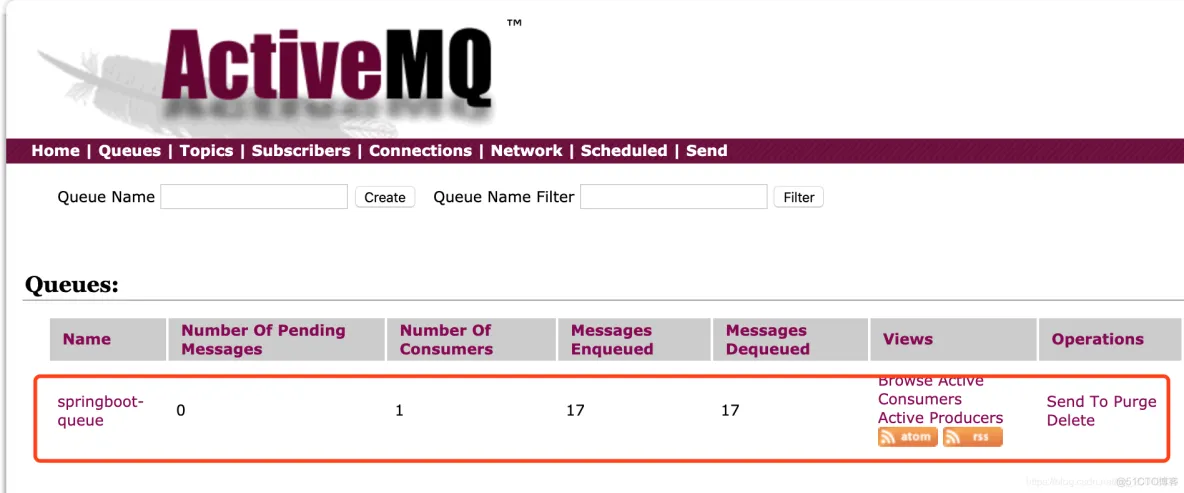
**step3.**启动生产者和消费者项目,可以看到生产者和消费者都注册到了ActiveMQ服务上了。

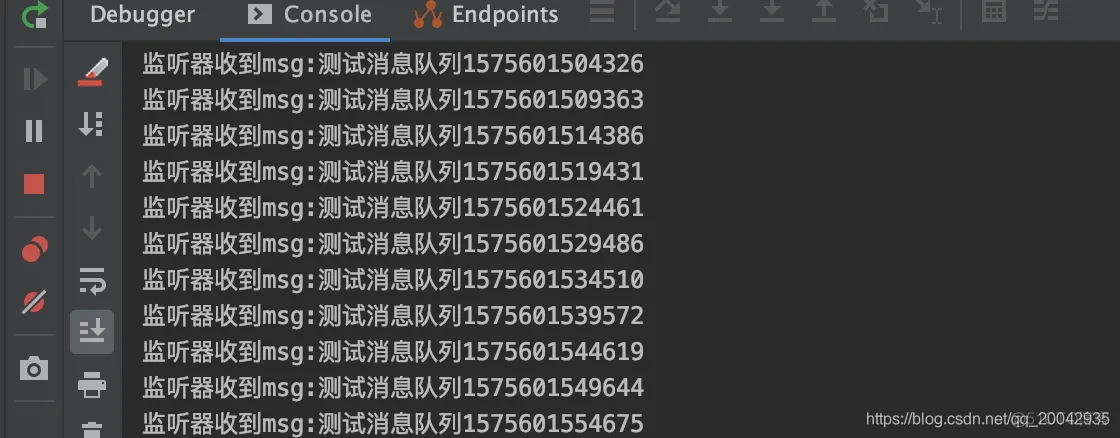
**step4.**在消费者的控制台,因为提供者是定时发送消息的,所以在消费者控制台可以看到消息接收:

成功!